A Catio can be Amazing!
*This post may contain affiliate links for which I earn commissions.*
There is some debate amongst cat lovers regarding inside vs outside vs inside/outside. There are a number of folks out there helping out feral/semi-feral cats as much as possible. Sometimes this involves getting the cat inside and sometimes it includes food, water, and some shelter outside because getting them inside is impossible for one reason or another.
ALL of our cats are rescue. All of them are now inside cats except for 2 neighborhood semi-feral cats that we have been unable to trap or trick to get them inside. To our credit there were 6 semi-feral cats when we started and we were able to get 4 of them inside, despite the fact that two of them were too smart to be trapped. So I get it.
I think everyone can agree inside only is the safest for our fur babies. So the big question is how can we have inside only cats and try to incorporate the outside into their lives safely? There are a number of things we can do and I am touching on each option in depth on this blog. This post is going to focus on a huge option…a catio.
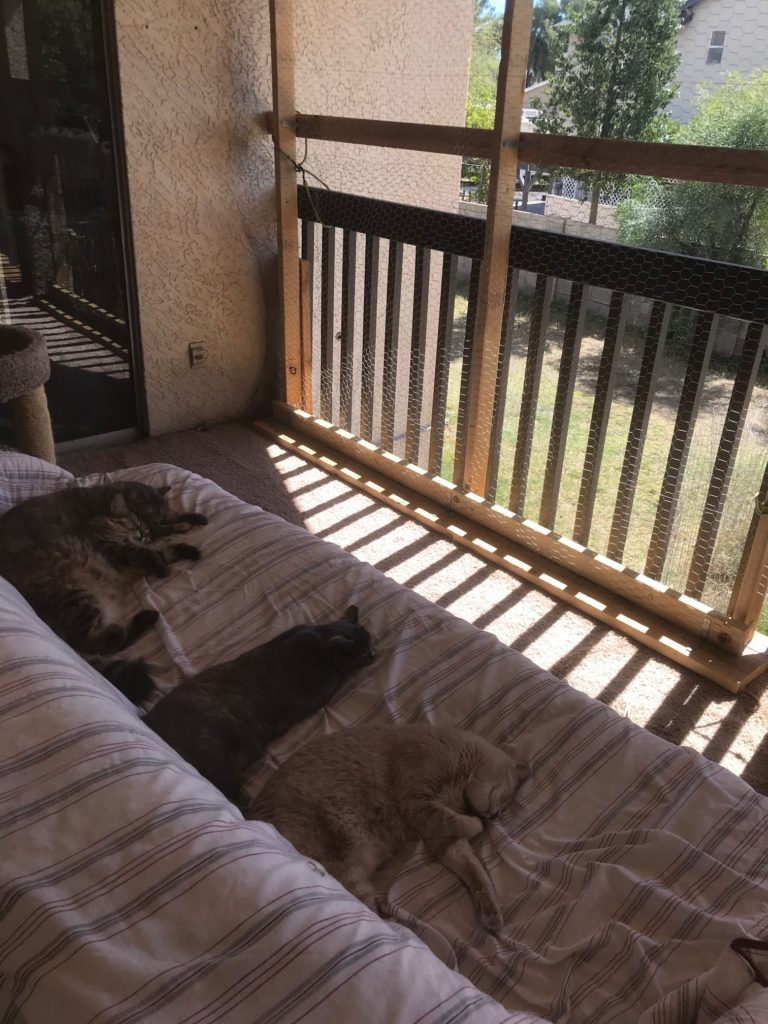
I am not a Handyman. If I were given a title in that category I would be the UNhandyman. I made this catio all by myself. I am not mentioning this to brag (well maybe a little), but to show you “yes you” that if I can do this ANYBODY can. Initially, i was going to do videos showing every step kind of a how to type thing. I soon realized that if anyone with any type of skills saw my videos and my approach it would put me in potential legal trouble. This is due to the fact that I could perhaps be sued because they laughed themselves to death!
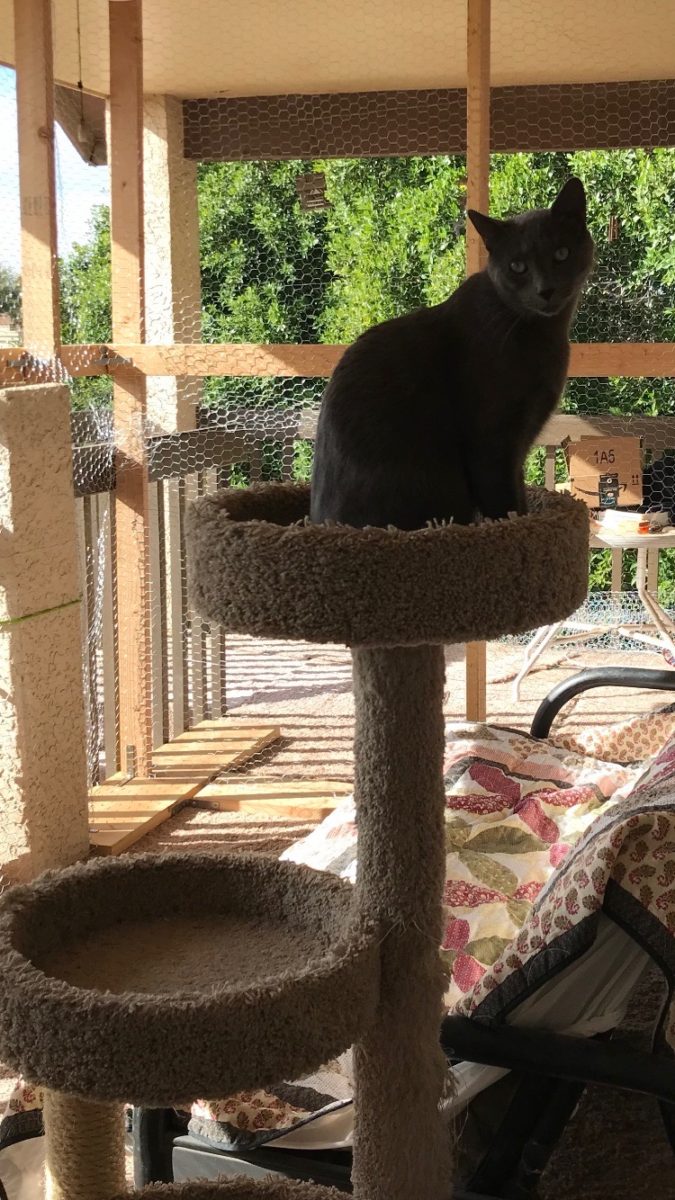
Instead I decided to show the finished catio, my thoughts on it, and some pics of the cats enjoying it. My total cost was about $300 give or take. That was just for materials. I actually already had all the tools I would need. Some I used for the first time…kind of sad I think since I have had these tools for YEARS! Oh well I digress back to the catio.
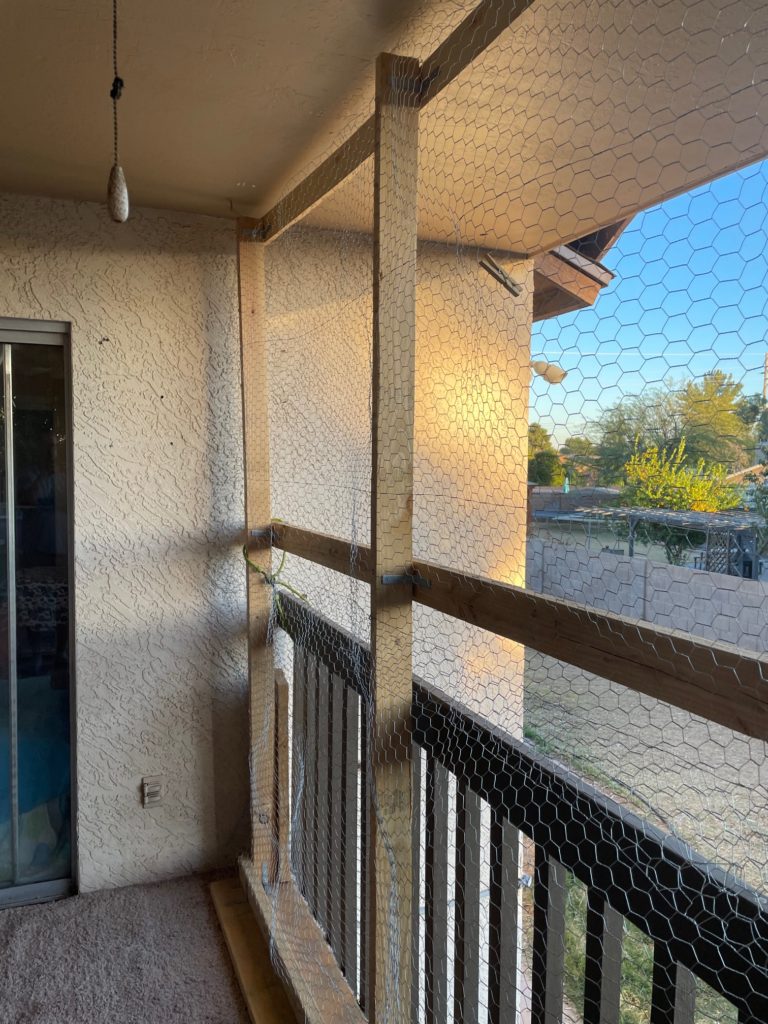
I researched materials, did some drawings, watched some videos, and decided to keep it simple with security being the top priority even over aesthetics. My wife usually expects this “simple” approach on the majority of my projects anyway. It’s a south facing second floor deck with a back wall, side wall, and ceiling already in place. These areas are all part of the house so that meant I really just needed one long wall and a smaller end wall to close in the whole space which is about 9ftx12ftx8ft. Access inside is from the patio door only.
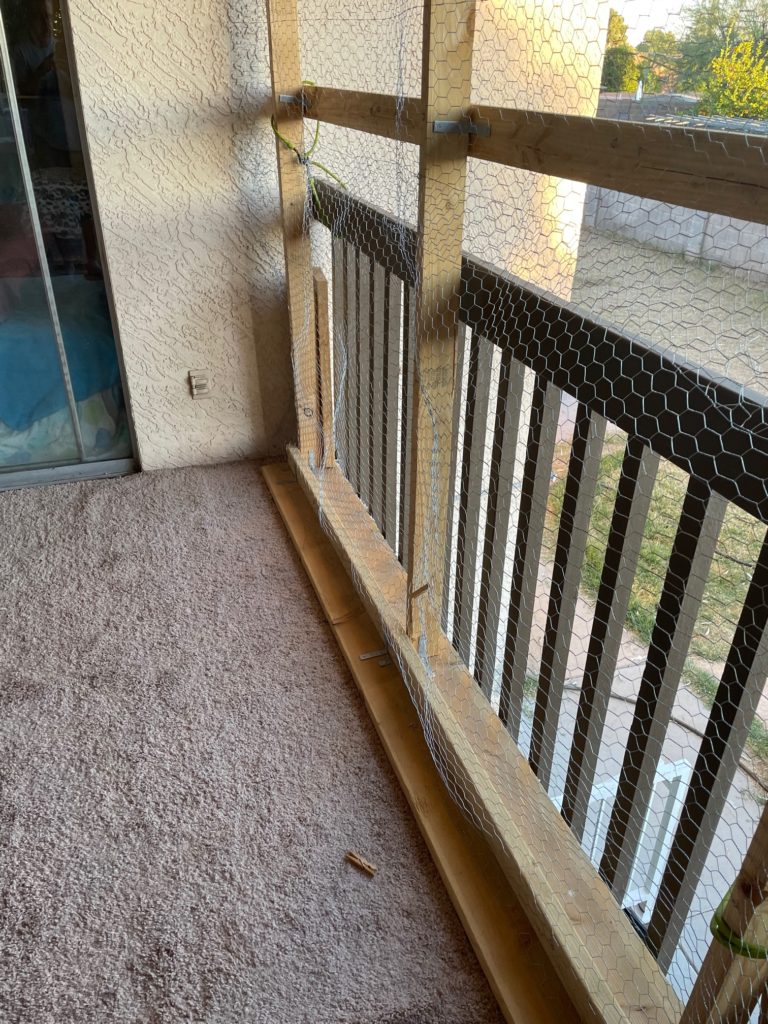
I really did not want to attach the catio to the house structure since I was not sure how it would turn out when finished so I had to make it really self supported and able to stand on its own. My main concern was the stability of an 8ft tall L-shaped wall. I made sure the base was wide and solid and added extra support at every spot possible. I did use some support from the house in a couple of spots as extra support, but not the primary support.
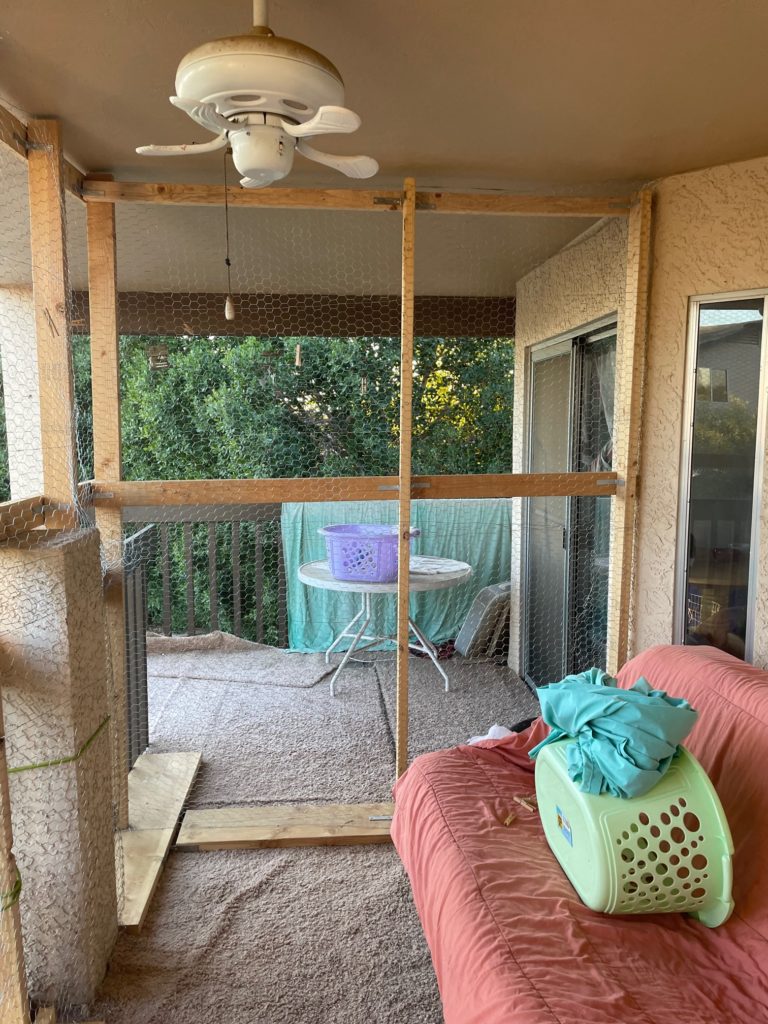
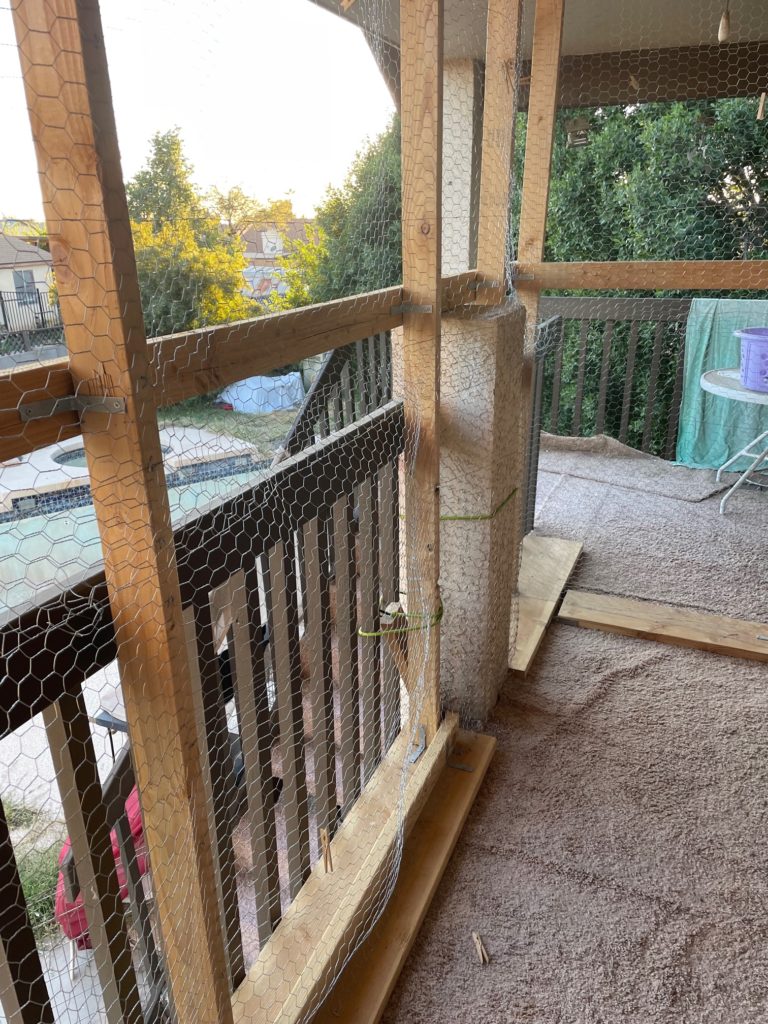
I decided to use chicken wire since it was the lightest in weight and as a bonus the least expensive. I was concerned about weight as the structure went up because there was some concern of it giving way in strong wind or if a cat tried to climb up it. I also used thinner lighter wood at the top to help keep the weight lighter.
I also decided to keep the wire kind of loose since I felt that loose unstable feeling wire would help to deter the cats from climbing up on the fence. It worked! The wire is very secure on the lower section and sides, but is loose enough going up higher to keep the cats off of it.
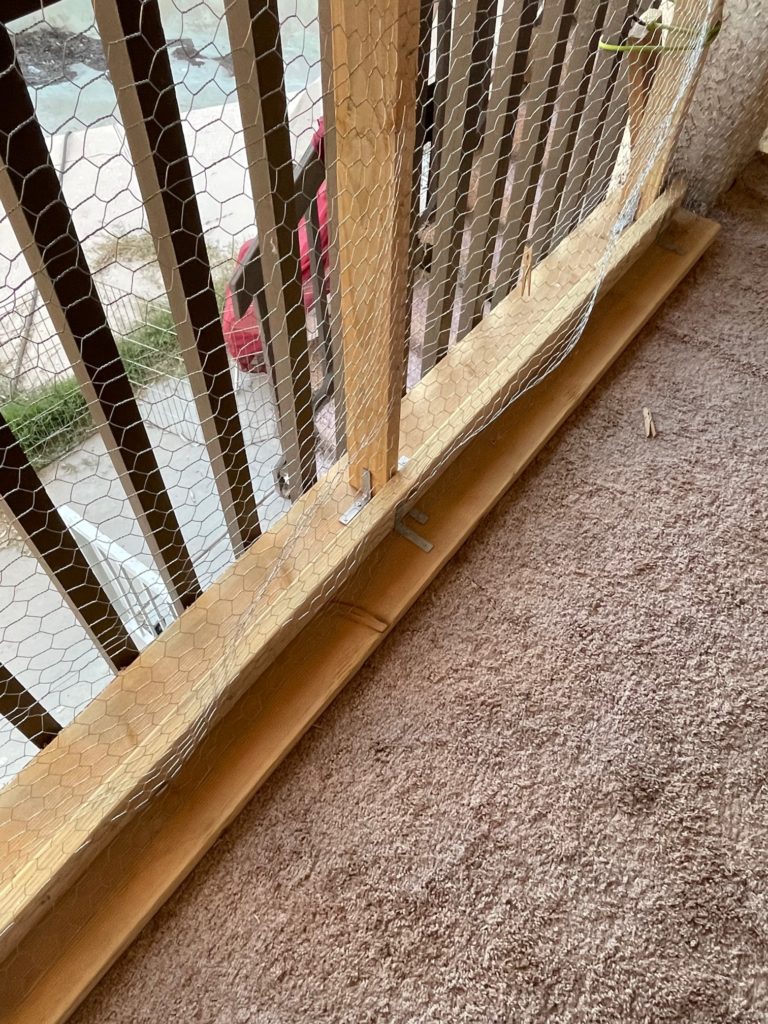
This catio took me about 4-5 days to complete total. We already had the extra carpet, the old futon, and added a medium, sized cat tower. The space is well protected by the house and large trees on all sides except straight south. The trees draw birds and bugs and protect from the elements. It does get a lot of sun in the winter so in the mid-afternoon a sheet is clipped to block some of the direct sun. The cats then can choose being in the sun or the shade.
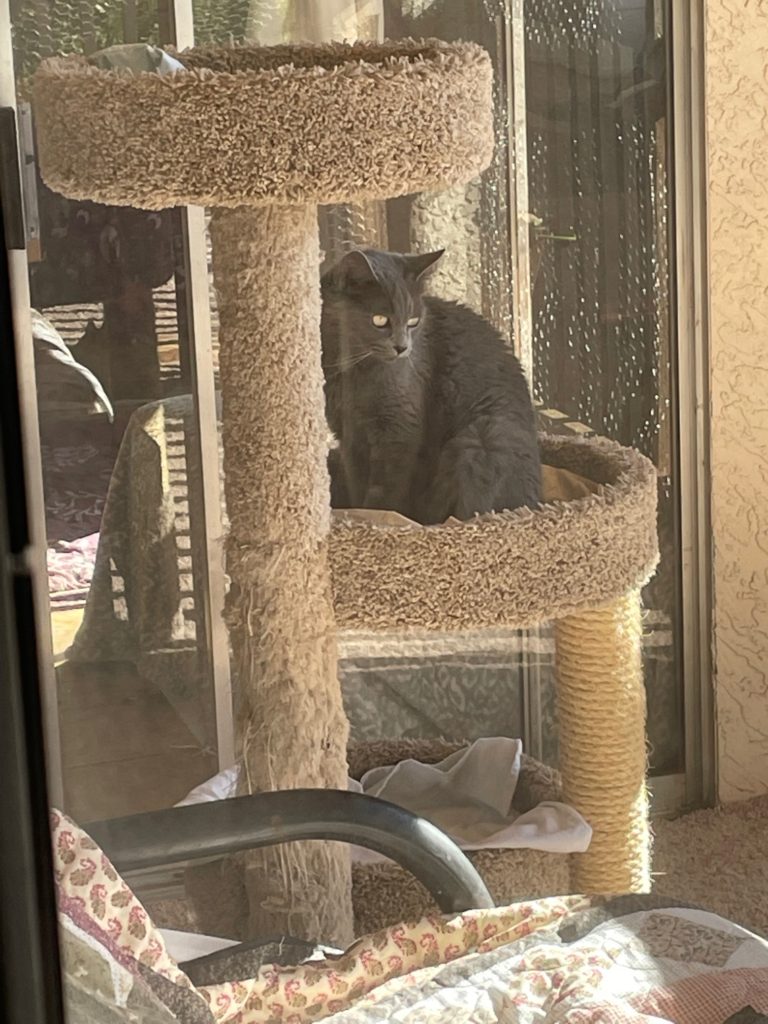
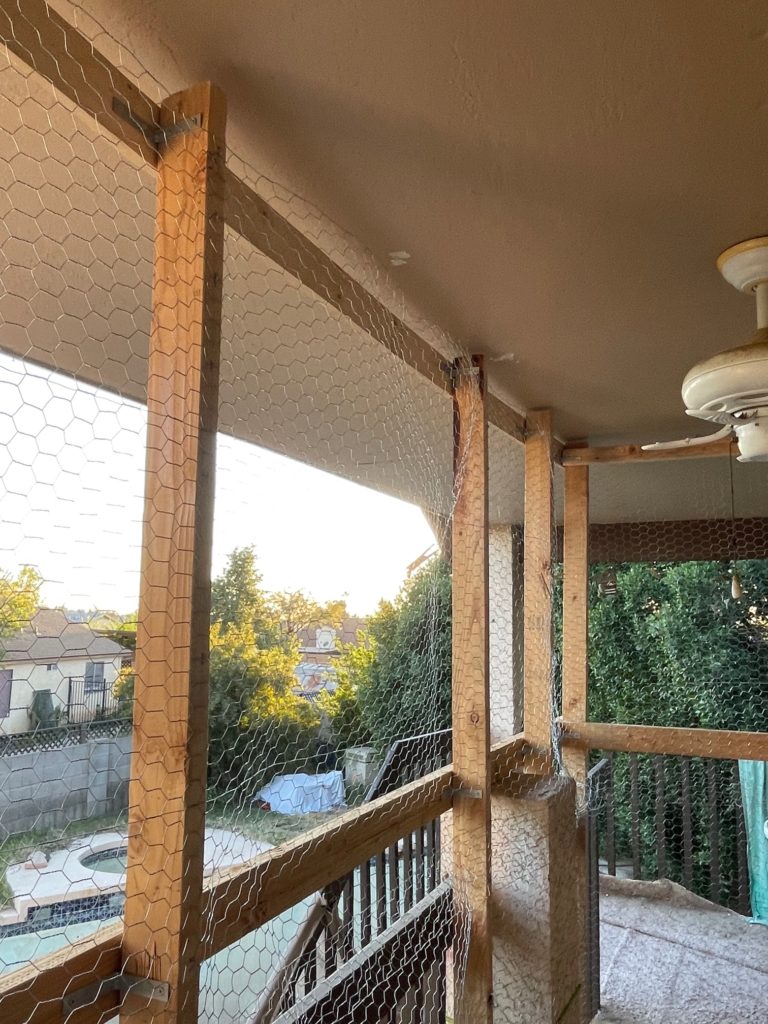
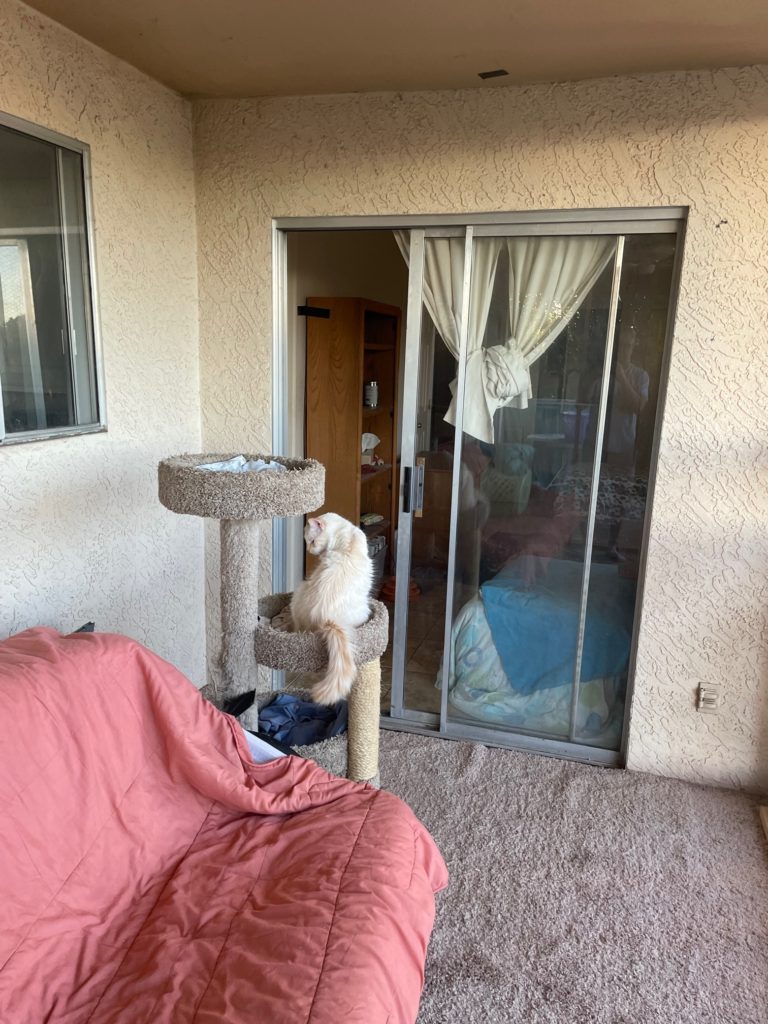
The catio has been a HUGE success. We stayed out with the cats for the first couple of days to make sure there were no weak spots that they might try to get out. I was happy to see that there were no weak spots.
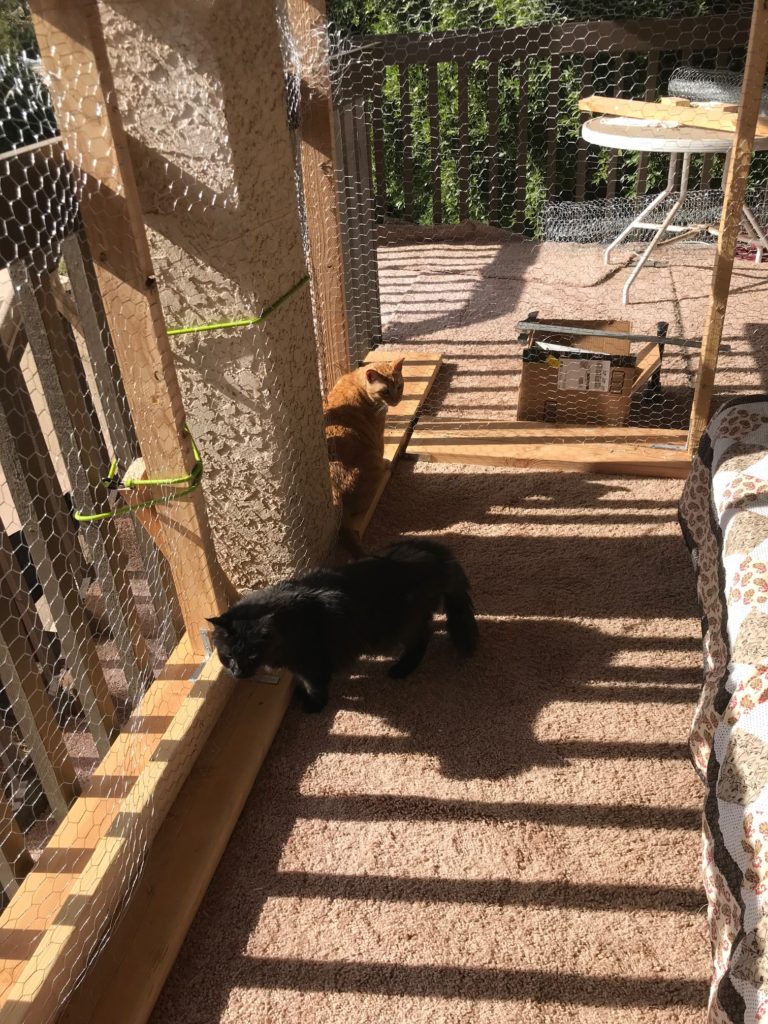
We have to rotate turns since some cats don’t get along in a smaller space like this. Some of the feral cats who have more of the run of the house at night are enjoying the extra elbow room and enjoying the outdoors.
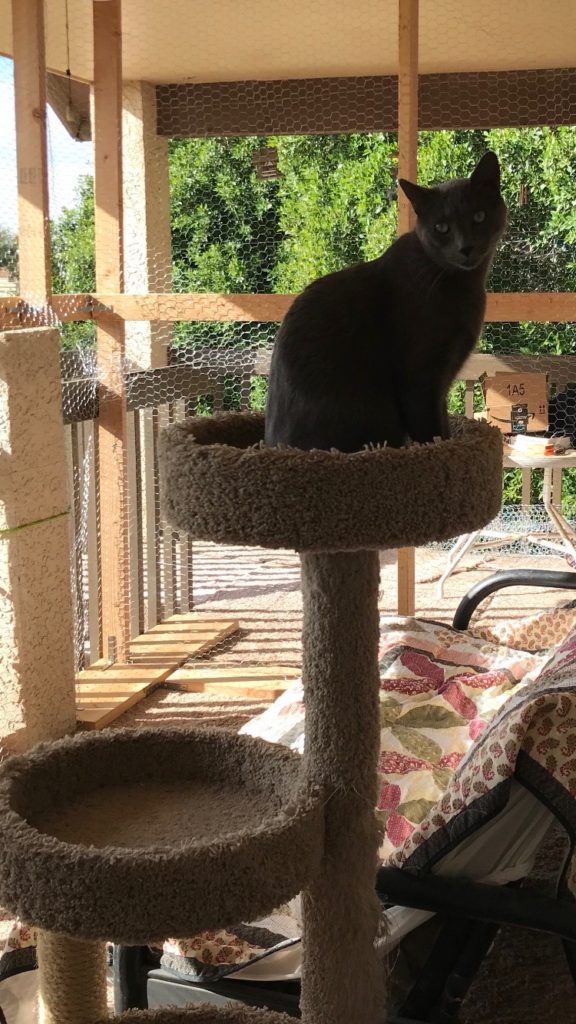
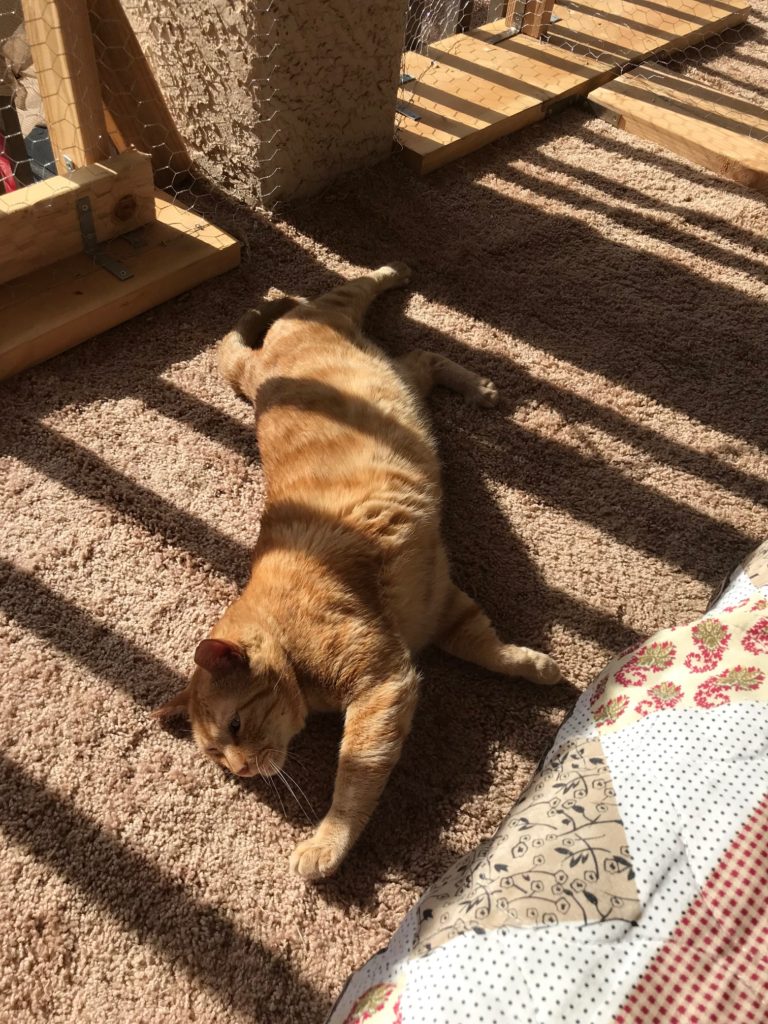
We live in the desert southwest. This means that in the winter the air is crisp and cool and the sun is always nice and warm. Morris loves this combination! We have not had a summer with this yet. I know that there will be a period of time where the catio will be open only early in the early morning and perhaps not at all on some really hot days. We will have to work around that when it happens.
A catio is a great way to allow your cats to enjoy the outdoors safely. I watched a number of videos which showed a huge variety of catio styles, sizes, shapes, and designs. If you know somebody that is handy that is even better. The cost is really not too bad either.
Since our catio is so successful I am probably going to build and extension on the other end of the deck in the near future. The trick there is that there is another patio door that we actually use especially to let the dogs out from the upstairs area. This will require a bit more creative design to incorporate a large door within the catio wall. A door that can be open when needed, but then closed and secure to let cats out in the area. This would almost double the catio space and we could keep them separate with the fence in the middle. Then we could have more cats out at the same time. Who knows maybe I will roll the dice and record my steps now that I am a “pro”.
I hope you found this article helpful and informative. If you didn’t, then maybe you should check out one of my “You’ve Just Been Squished!” posts. I never miss with those!

